Step 4: Create Custom Taxonomies
Introduction
Follow this information to create a custom taxonomy.
Add A Custom Taxonomy
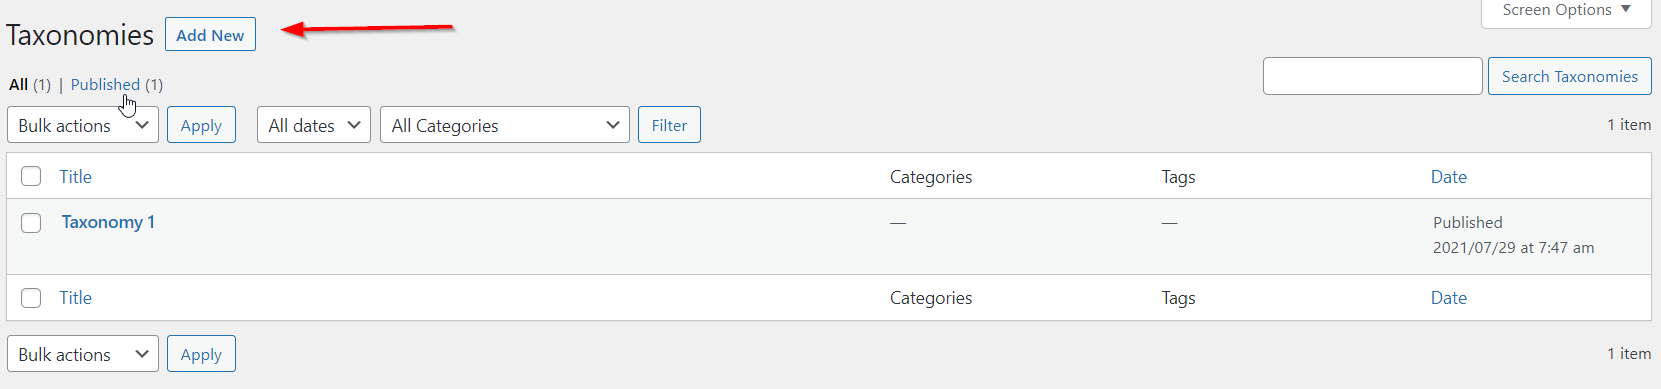
Make your way to Divi Engine > Add/Edit Taxonomies and Add a New Taxonomy.

Customize Your Taxonomy
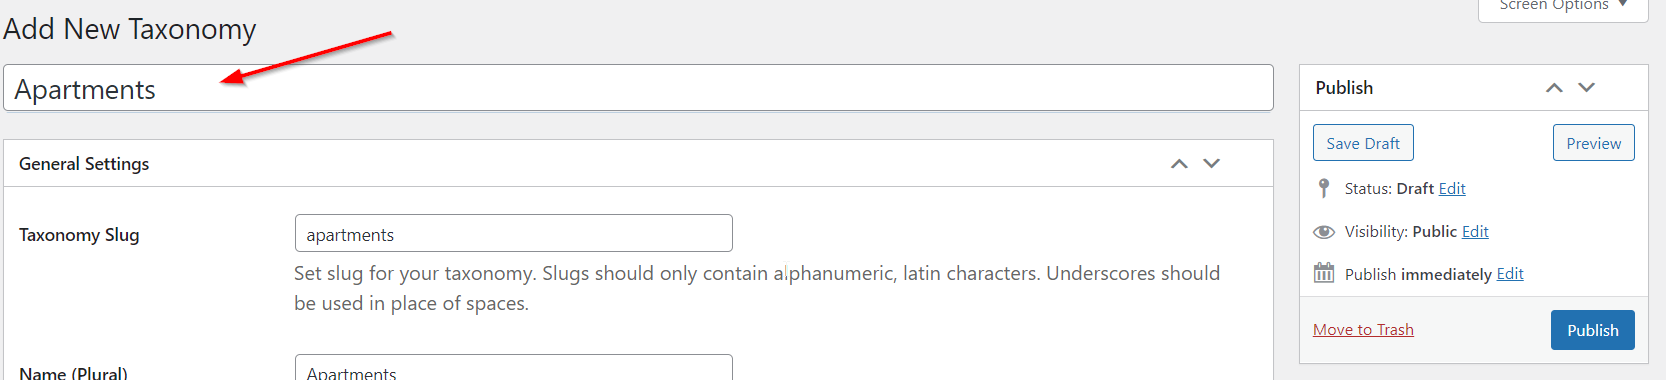
Enter in a name for your Taxonomy and Divi Machine will auto-populate the rest for you. For more information on each setting please scroll down to the bottom of this page.
warning
Make sure you do not use reserved terms by WordPress and other plugins that you have installed for your Custom Taxonomy slug. For example, here are some of the WooCommerce reserved terms:
- product
- shop_order
- shop_coupon
- shop_subscription
- shop_order_refund
- product_variation
Custom Taxonomy Settings
General Settings
- Taxonomy Slug: Slugs should only contain alphanumeric, latin characters. Underscores should be used in place of spaces.
- Name (Plural): Used for the taxonomy admin menu item.
- Name (Single): Used when a singular label is needed.
- Attach to Post Type: Choose which post or custom post you want to attach it to.
Labels
Define the labels for the custom taxonomy
Advanced Options
- Public: Whether a taxonomy is intended for use publicly either via the admin interface or by front-end users.
- **Public Queryable:**Whether or not the taxonomy should be publicly queryable.
- **Hierarchical:**Whether the taxonomy can have parent-child relationships.
- **Show UI:**Whether to generate a default UI for managing this custom taxonomy.
- **Show In Menu:**Whether to show the taxonomy in the admin menu.
- Show In Nav Menus: Whether to make the taxonomy available for selection in navigation menus. (Appearance > Menu)
- Rewrite: Whether or not WordPress should use rewrites for this taxonomy.
- Custom Rewrite String: Custom taxonomy rewrite slug.
- Rewrite With Front: Should the permastructure be prepended with the front base.
- Rewrite Hierarchical: Should the permastructure allow hierarchical URLs.