Email Template
Watch This Video
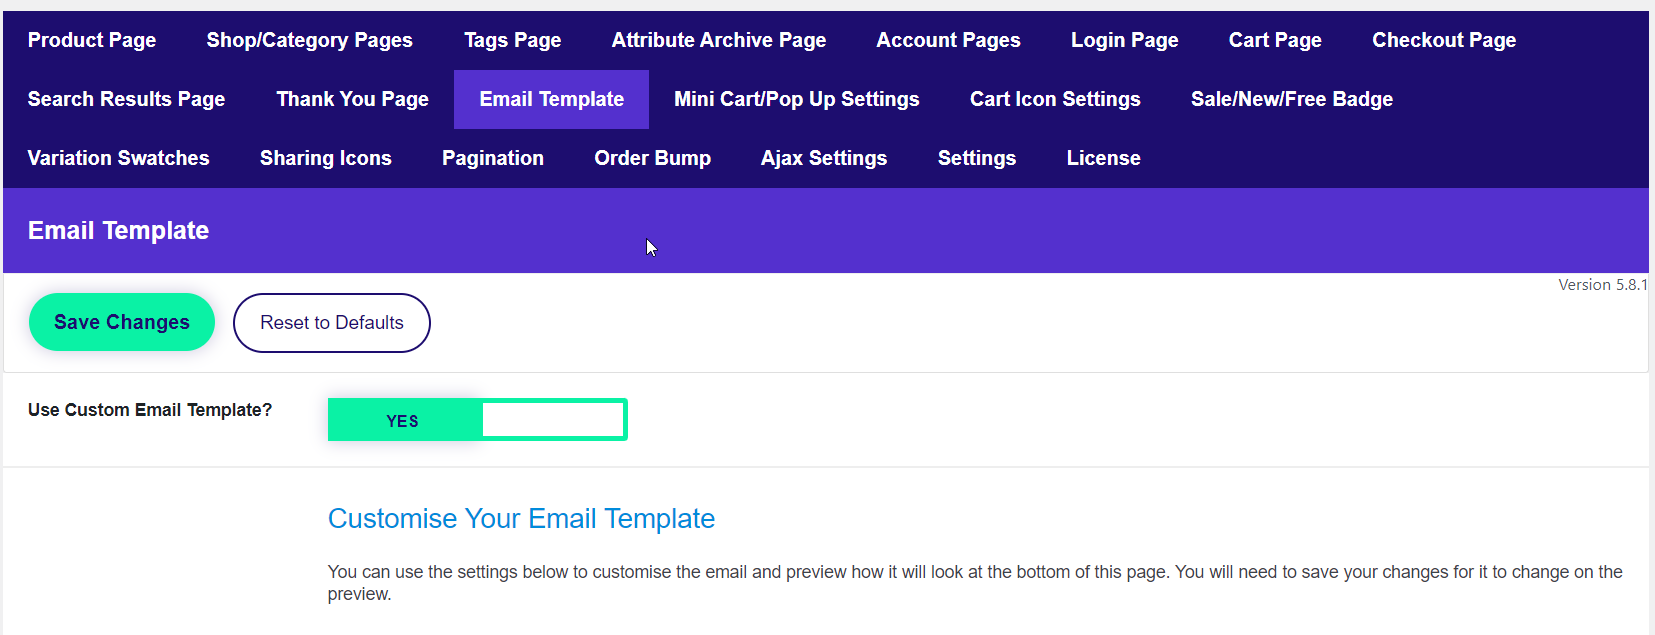
Go to Divi Engine > BodyCommerce > Email Template Tab. Here have a number of settings for you to play with to make your custom email template.
Step 1: Enable Custom Email Template
Step 2: Customize The Appearance
The "Appearance" refers to everything except the header, footer and table details. View the image at the end.
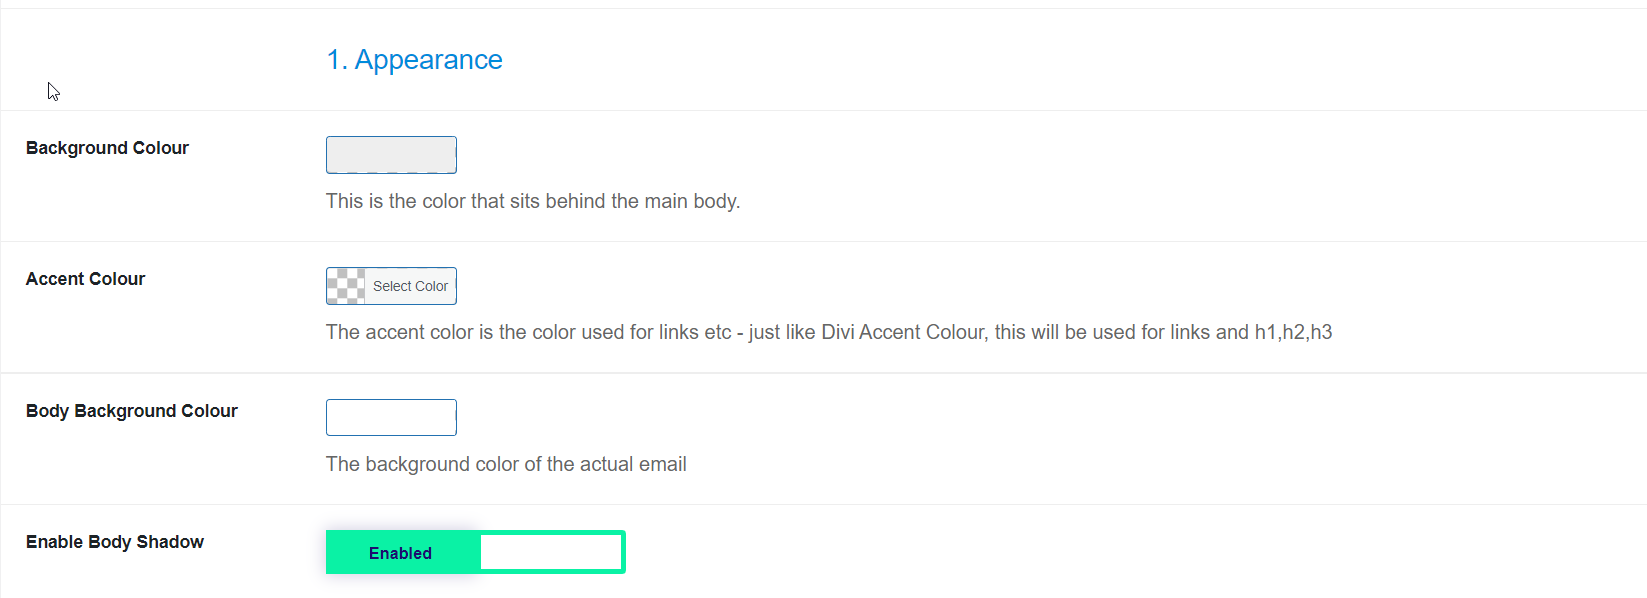
- Background Color: Change the background colour behind the actual email
- Accent Color: Just like Divi, this is the colour that will be used for links, h1, h2 etc..
- Body Background Color: Change the background colour of the email itself
- Paragraph Text Color: Change the colour of most of the paragraph text – you may change some specific ones later.
- **Page Width:**Set the width of the email – the default is 600px
- **Border Radius:**Change the border radius of the form – if you want rounded corners = higher the number.
- h1, h2, h3 & paragraph font size: Change the font sizes of these respectively.
- Paragraph Line Height: Set the line height (distance between lines of text)
Step 3: Customize The Header
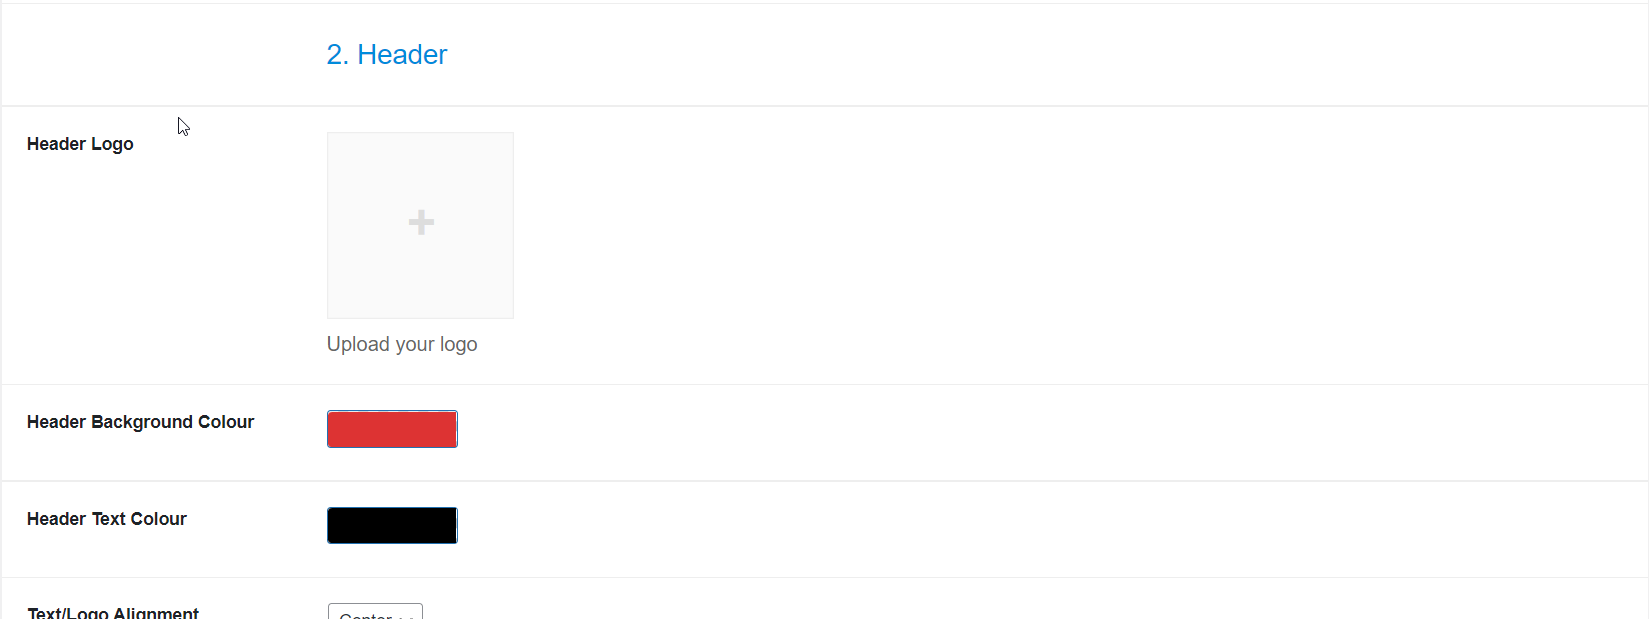
- **Header Logo:**Add your logo above the email heading text.
- **Header Background Color:**Change the background colour of your header.
- **Header Text Color:**Change the colour of your text in the header (h1)
- Text/Logo Alignment: Choose the alignment of the logo and text in the header.
- Logo Height: Set the height of your logo.
Step 4: Customize The Order Details
This refers to information before and after the order details table, among other styling.
- **Table Border Width:**Set the width of the table border.
- Table Border Color: Set the colour of the table border.
- Table Background Color: Change the background colour of the table.
- **Enable Product Image:**Enable this to show the product image in the order table.
- Product Image Size: Set the size of the product image.
- Show SKU to the customer: Enable this to show the SKU number on the products for the customer. By default, it only gets sent to the admin.
Step 5: Customize The Footer
- Footer Logo: Add a logo above the footer text.
- Footer Background Color: Change the background colour of your footer.
- Footer Text Color: Change the colour of your text in the footer (h1).
- Text/Logo Alignment: Choose the alignment of the logo and text in the footer.
- **Logo Height:**Set the height of your logo.
- Footer Text: Set the text you want to be shown in the footer. Try not to be too fancy with your design here as some email clients are funny about rendering HTML/CSS.
Step 6: Preview Your Email Take a look at how the email will look with your changes. Make sure you save the page settings first before as it is not live changes.