Assigning a Mega Menu
Creating a Mega Menu with Divi Mega Menu enhances your website's navigation, allowing for a more dynamic and comprehensive menu structure. Follow these steps to assign a Mega Menu on your WordPress site using Divi Mega Menu.
Watch This Video
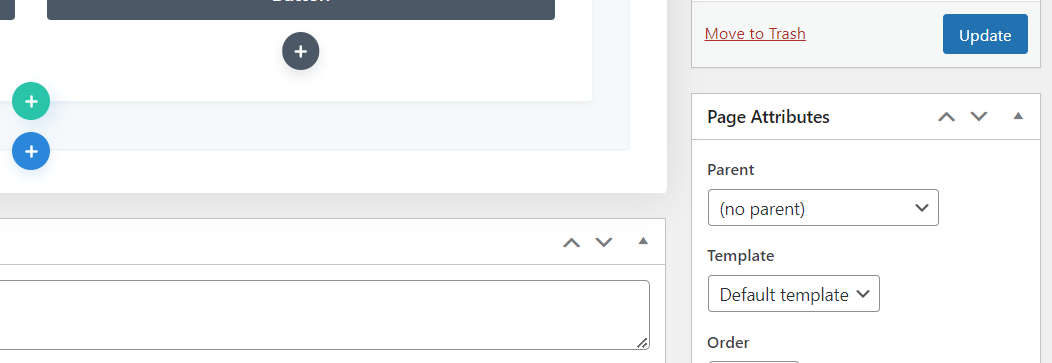
Step 1: Default Template Assignment
Default Template for Pages: Ensure that the pages on your Divi website are set to the "Default Template" in the Page Attributes section, facilitating better integration with Mega Menu.
Step 2: Positioning Your Mega Menu
Choose Mega Menu Position: Decide where you want your Mega Menu to appear. While it can be placed in any Divi module, it's optimized for integration with the default WordPress menu.

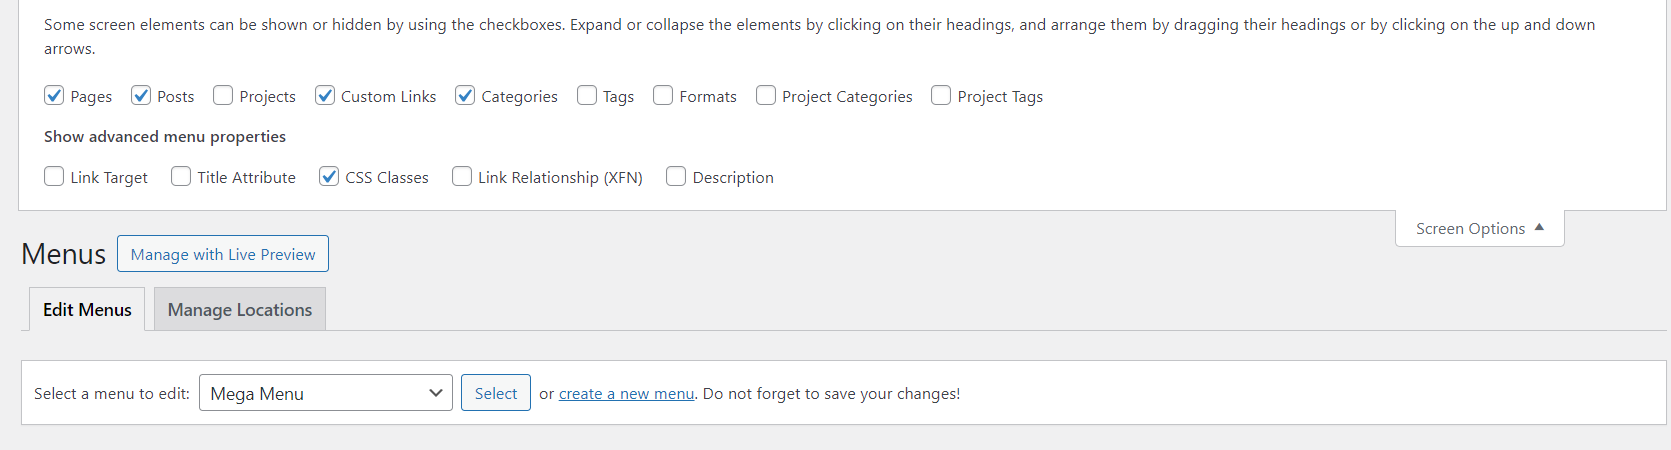
WordPress Default Menu
- Navigate to the Menus section in your WordPress dashboard.
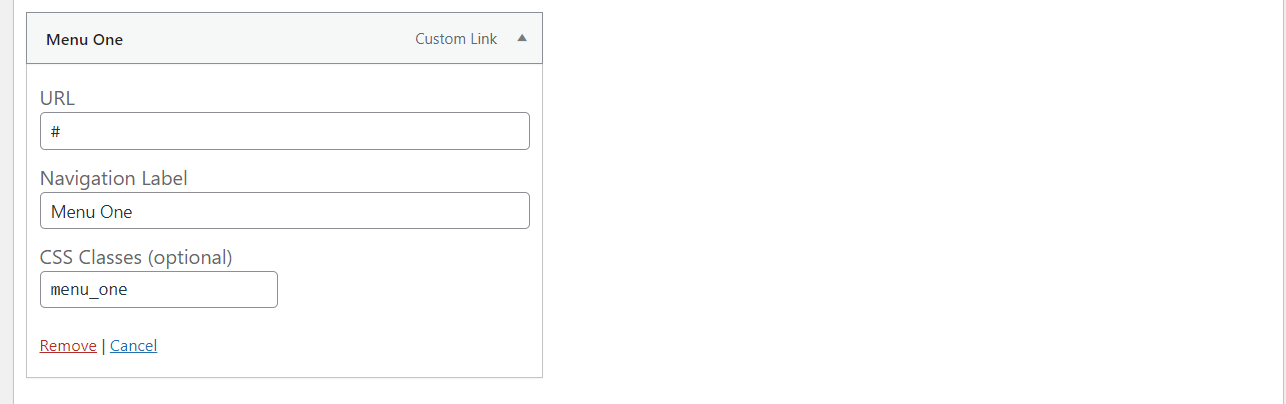
- Create or edit a menu, adding your site’s pages. Enable "CSS Classes" in Screen Options and assign your custom identifier to the desired parent menu item.
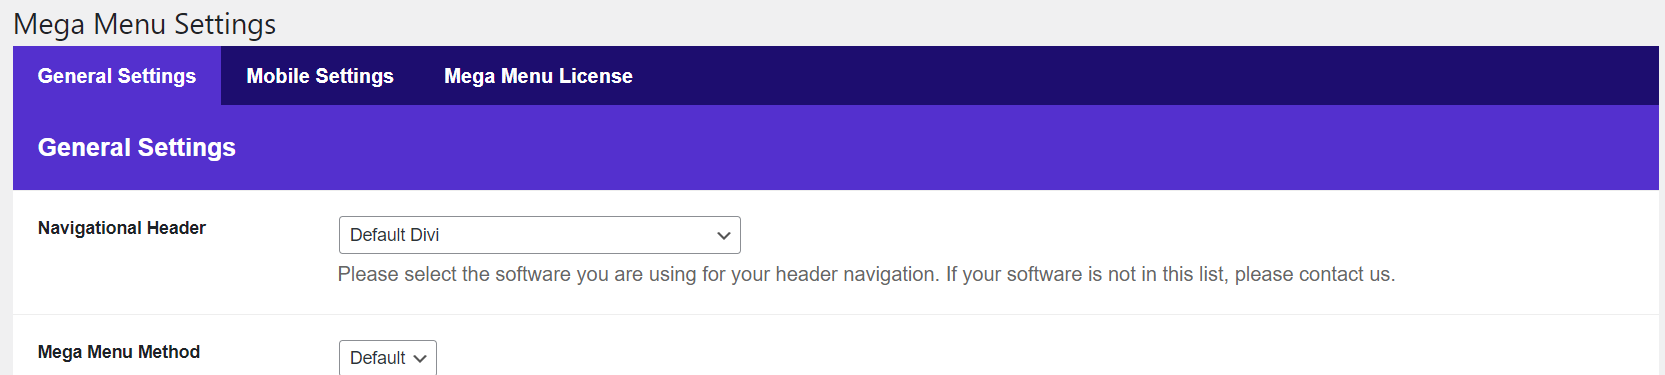
- Set Navigational Header: In Divi Engine > Mega Menu Settings, select your preferred Navigational Header for displaying the Mega Menu.
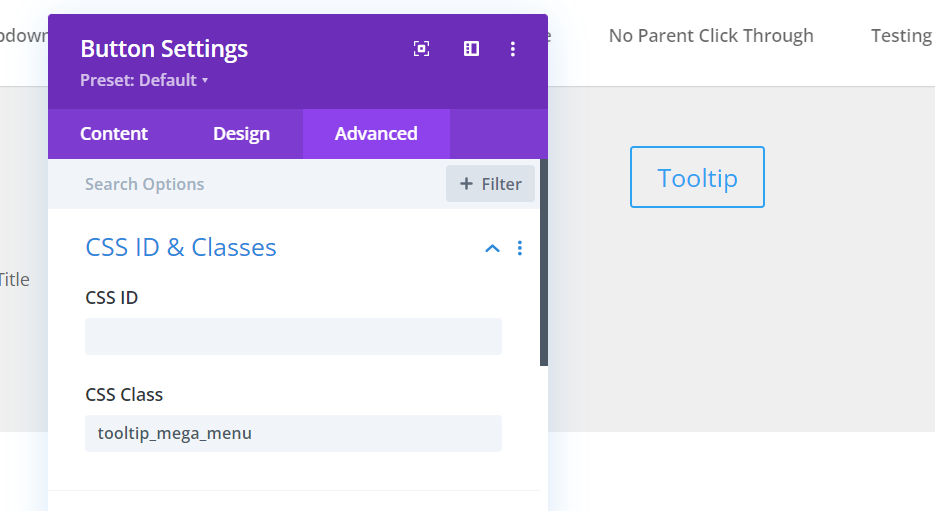
Tooltip (Divi module)
- Place a Divi module (e.g., a button) where you want the Mega Menu trigger.
- In the Advanced tab, enter your custom identifier in the CSS Class field.
Step 3: Completion
After finalizing your Mega Menu design and settings, save your changes. Review your Mega Menu on the front end to ensure it appears and functions as expected.
Additional Information
- Testing: Thoroughly test your Mega Menu across different devices and browsers to ensure optimal performance and user experience.
- Update and Maintenance: Keep both Divi and the Mega Menu plugin updated to take advantage of the latest features and security enhancements.