General Payment Settings
The General Settings section within the Payments settings panel of Divi Form Builder is where you configure your preferred payment gateway, currency settings, how amounts are formatted, and common error messages related to Stripe payments.
To get started, navigate to:
Divi Engine > Form Builder Settings > Payment Settings

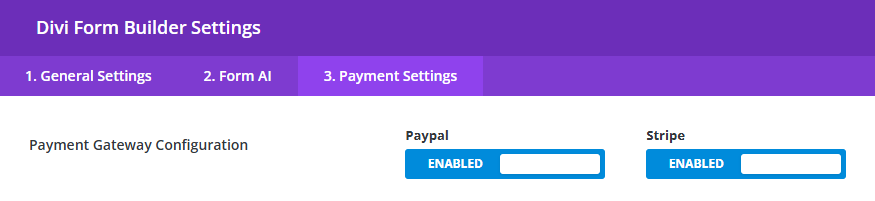
Payment Gateway Configuration
Select and configure the payment gateway you wish to use. Currently, PayPal and Stripe are supported.
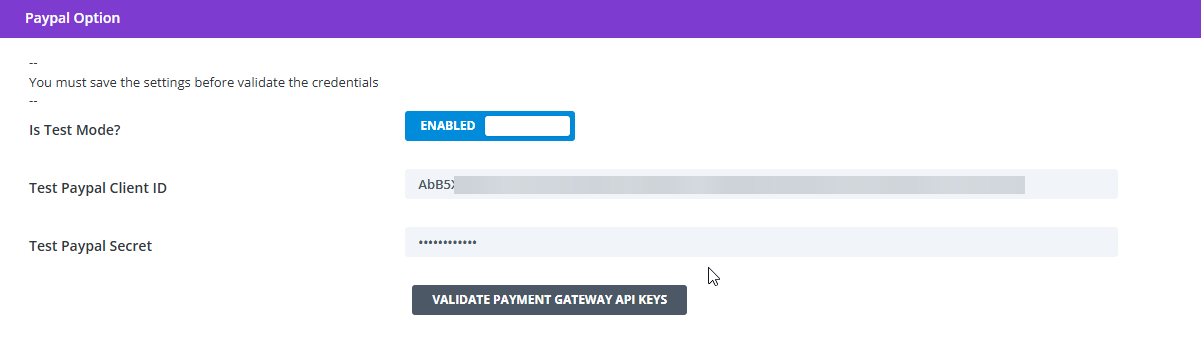
PayPal Settings
When PayPal is selected, the following options appear:
Is Test Mode?— Toggle between sandbox (test) and live environments.PayPal Client IDPayPal Secret
You can enter both test and live credentials, just be sure that test mode if enabled during testing, and that it is disabled when the form goes live to accept payments.
You can obtain your PayPal Client ID and Secret from your PayPal Developer Dashboard.
How to Get Your PayPal API Keys
To connect PayPal with Divi Form Builder, you need a Client ID and Secret from the PayPal Developer Dashboard. Here's how to obtain them for both Live and Sandbox modes:
-
Log in to PayPal Developer
Visit https://developer.paypal.com/ and click Log into Dashboard in the top right.
Use your PayPal business account credentials. -
Go to My Apps & Credentials
- In the left sidebar, select My Apps & Credentials.
- Choose the appropriate environment:
- Sandbox – for test transactions
- Live – for real payments
-
Create or Select an App
- Click Create App to make a new app, or select an existing one.
- Enter an App Name if prompted, then click Create App.
-
Retrieve Your API Credentials
- Once the app is created or selected, you’ll see:
- Client ID (visible immediately)
- Secret (click Show to reveal)
- Once the app is created or selected, you’ll see:
-
Paste Credentials into Divi Form Builder
- Navigate to
Divi Engine>Form Builder Settings>Payment Settings. - Enable PayPal, choose the mode (Test or Live), and paste the corresponding:
PayPal Client IDPayPal Secret
- Navigate to
Make sure you use Live credentials only in production. Keep your Secret private and never expose it in frontend code.
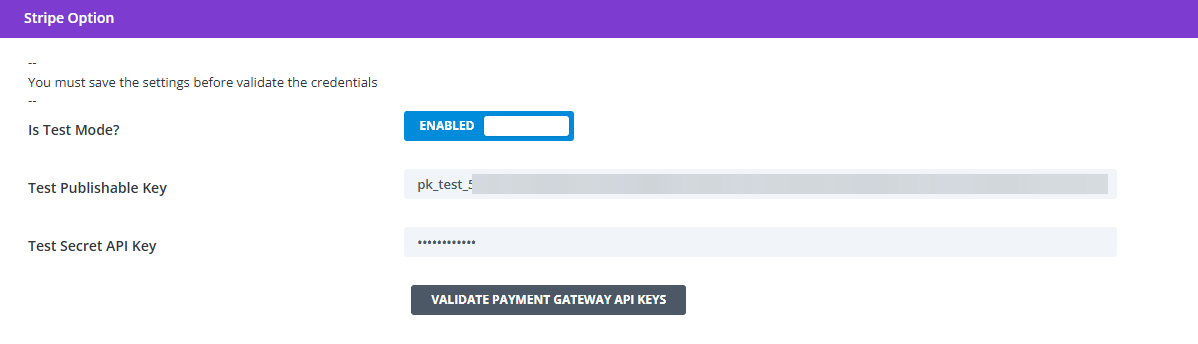
Stripe Settings
When Stripe is selected, the following options appear:
Is Test Mode?— Toggle between sandbox and live environments.Publishable KeySecret API Key
Again, you can enter both test and live credentials, just be sure that test mode if enabled during testing, and that it is disabled when the form goes live to accept payments.
You can retrieve your Stripe API keys from the Stripe Dashboard.
How to Get Your Stripe API Keys
To integrate Stripe with Divi Form Builder, you'll need both your Publishable and Secret keys from the Stripe dashboard. Here's how to find them:
-
Log in to Stripe
Visit https://dashboard.stripe.com and log in with your Stripe account credentials. -
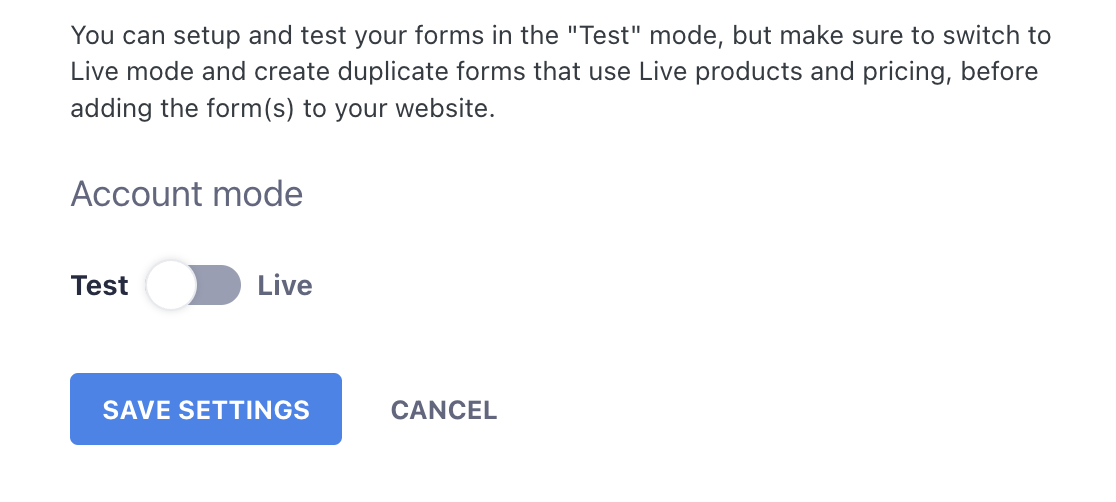
Switch to the Correct Mode
- Use the toggle in the top left corner to switch between Test mode and Live mode.
- This is crucial—Stripe provides separate keys for each mode.
-
Access the API Keys
- From the left-hand menu, go to
Developers>API keys. - Here you'll find:
- Publishable key (starts with
pk_) - Secret key (starts with
sk_)
- Publishable key (starts with
- Click "Reveal live key" or "Reveal test key" to view and copy your Secret key.
- From the left-hand menu, go to
-
Paste into Divi Form Builder Settings
- Navigate to
Divi Engine>Form Builder Settings>Payment Settings. - Enable Stripe and paste the keys into the relevant fields:
Publishable KeySecret API Key
- Ensure you use keys that match the selected mode (Test or Live).
- Navigate to
Never share your Secret API key publicly or embed it in frontend code. Always store and use it securely in your plugin settings.
Payment Error Messages (Stripe Only)
The system will automatically detect and display error messages returned by Stripe. Here are some common messages:
- Declined Card
- Expired Card
- Incorrect CVC
- Processing Error
- Incorrect Number
- Invalid Expiry Month
- Invalid Expiry Year
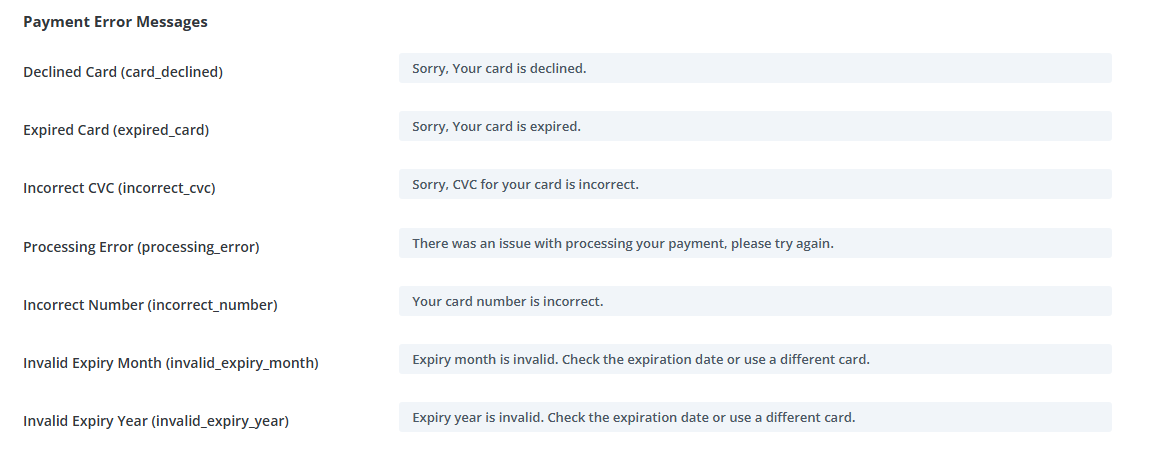
These messages are designed to help customers understand why a payment might have failed and take appropriate action. You also have the option to customize the text for these error messages here.
Global Payment Settings
In addition to your payment gateway settings, we have added other settings as they relate to payments that are accepted using Divi Form Builder.
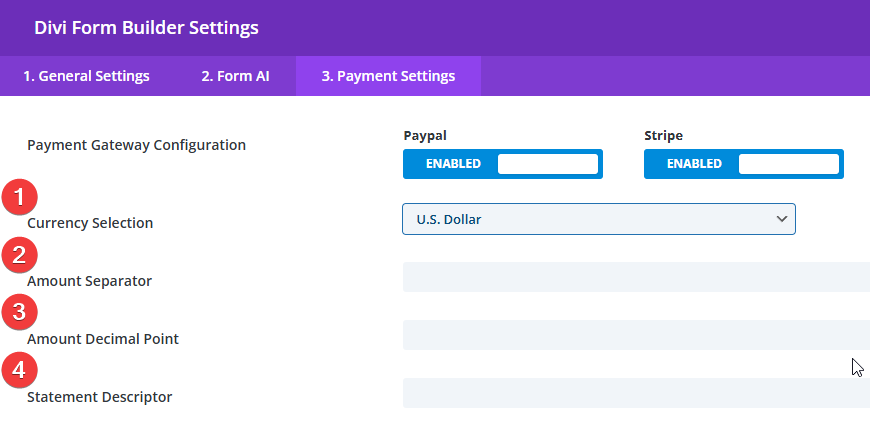
1. Currency Selection
Use this dropdown to select the currency you want to accept payments in. This is important for both gateways to display correct pricing and totals.
2. Amount Separator
Configure how the thousands separator appears in payment amounts. For example, selecting a comma will show prices like 1,000.00.
3. Amount Decimal Point
Choose the character used to separate the whole number from the decimal. For example, a dot (.) would render 10.50, while a comma (,) would render 10,50.
4. Statement Descriptor
This optional setting allows you to specify what text should appear on your customer’s bank statement after a transaction.
Keep this short (22 characters max for Stripe) and recognizable to avoid chargebacks or confusion.