Adding and Customizing the Image Upload Field in Divi Form Builder
The Image Upload field in the Divi Form Builder module allows users to upload images directly to the WordPress Media section of your website. This field supports multiple image uploads and offers several customization options to enhance the user experience.
Video
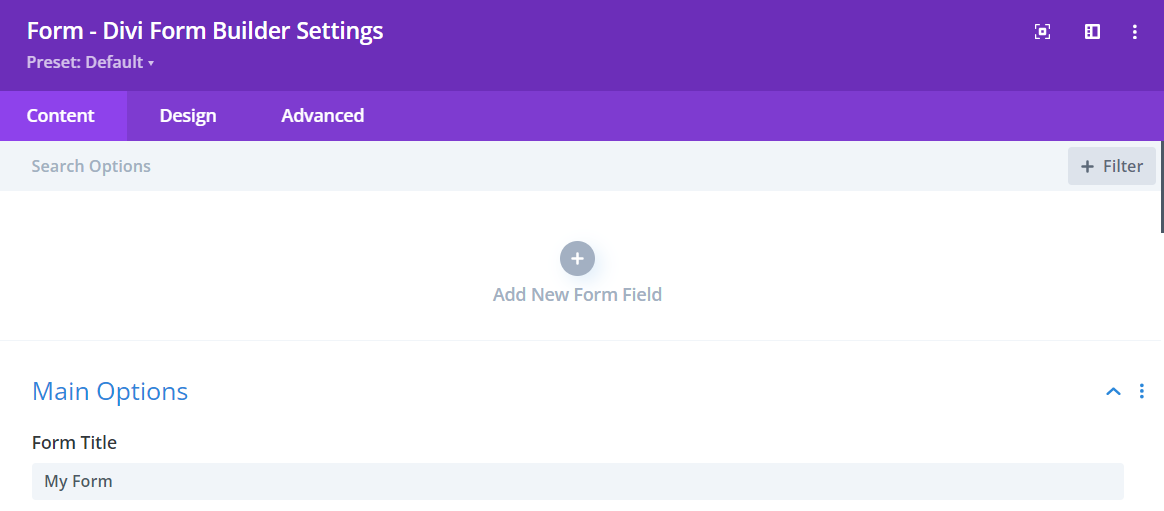
Step 1: Add Form Field
- Navigate to the page with your form and open the
Form Builder module. - Click on the
Add New Fieldbutton to start adding a new form field.
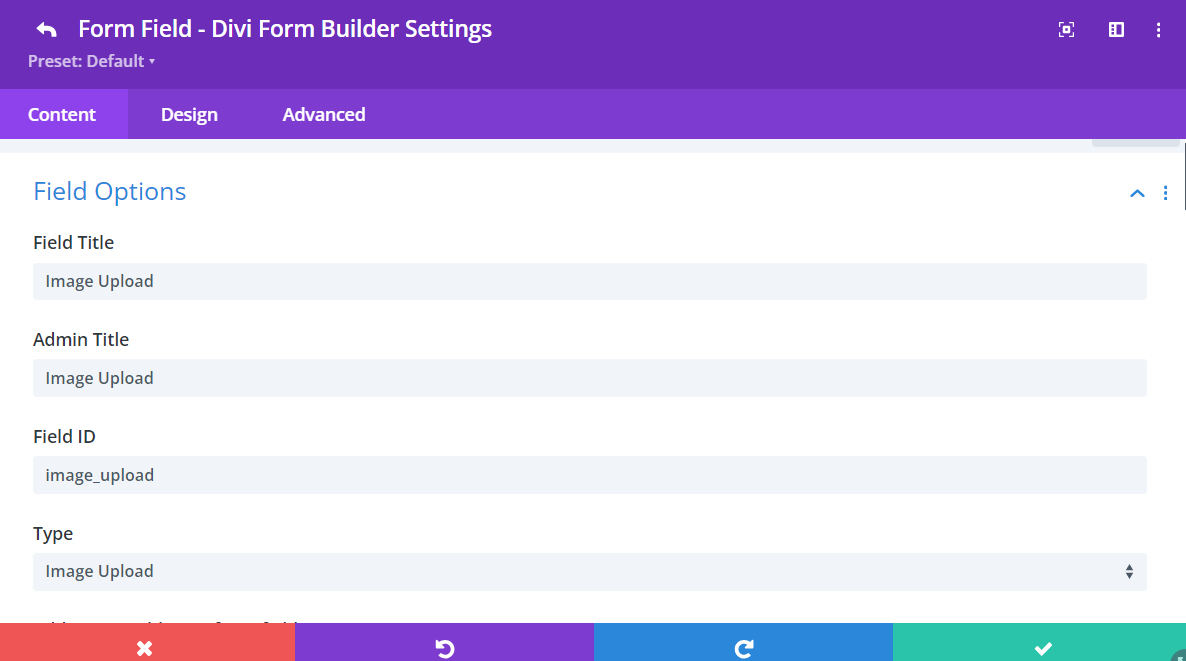
Step 2: Select Image Upload Field
- Enter a descriptive
Field Titlefor the field that users will see. - Enter a
Admin Titlefor administrative purposes to help identify the field. - Assign a unique
Field IDto the field for data handling. - Select
Image Uploadfield from the Type dropdown menu.
Step 3: Customize Image Upload Field
In additional to the styling features in the Design Tab, Divi Form Builder offers customization options for the Image Upload Field HERE.
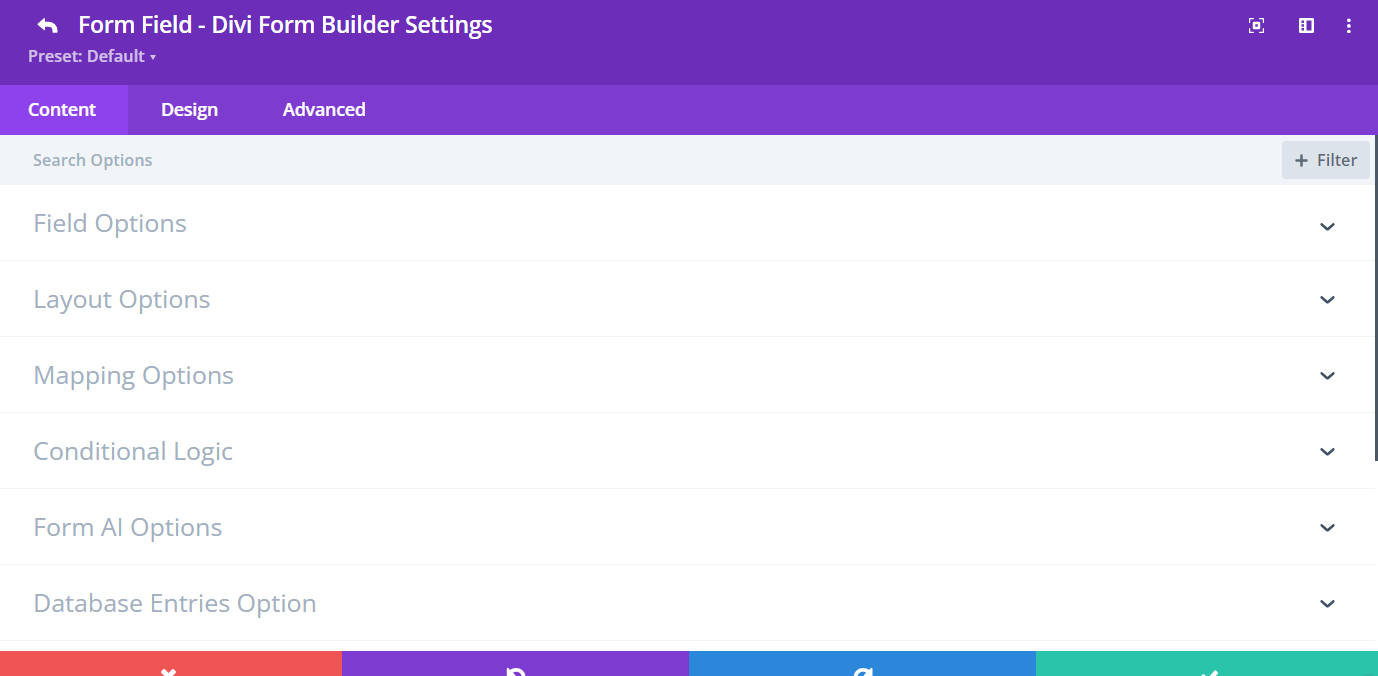
Field Options:
Add Form Builder Prefix to Field: Disable this option to directly input the field ID and Name. Only disable this option for specific cases, such as when using the form with Google Tag Manager.Hide Upload Image Preview: Hide the preview of the uploaded image.Hide Upload Preview Title: Hide the title of the image preview.Hide Upload Preview File Size: Hide the file size of the image preview.Hide Upload Preview Progress Bar: Hide the progress bar during the upload process.Upload Alt Title: Set the alternative text for the uploaded image.Max Upload File Counts: Limit the maximum number of images that can be uploaded.Max Number of Files Exceed Error: Customize the error message when the file count exceeds the limit.Max Upload File Size: Set the maximum file size for uploads.Max Upload File Size Error: Customize the error message when the file size exceeds the limit.Accepted File Types: Specify the types of files that can be uploaded (e.g., .jpg, .png).Accepted File Types Error: Customize the error message when an unsupported file type is uploaded.Upload Error Hide Delay (Milliseconds): Set the duration for how long the error message should be displayed.If on Edit Form - Button Text to Show Upload Box: Customize the button text to show the upload box in edit mode.If on Edit Form - Button Text to Close the Upload Box: Customize the button text to close the upload box in edit mode.Edit Image Instructions Text: Provide instructions for editing the uploaded image.If on Edit Form - Remove File from Media Library: Enable the option to remove the file from the media library on the Edit Form.If on Edit Form - Remove File Confirm Message: Customize the confirmation message when removing a file from the Edit form.Required: Make the image upload field mandatory for form submission.
Additional Tips
By following these steps, you can effectively add and customize the Image Upload Field in Divi Form Builder. Utilize the various customization options to ensure the field meets your specific requirements and provides a seamless user experience. This setup allows users to easily upload images, enhancing the functionality of your forms.