Adding and Customizing the Radio Field in Divi Form Builder
The Radio Field in the Divi Form Builder module allows users to select from a number of radio buttons. Each radio button is assigned specific data for selecting various options. This field can also be mapped to an ACF (Advanced Custom Fields) checkbox/radio field. Follow these steps to add and customize the Radio Field for your forms.
Video
Step 1: Add Form Field
- Navigate to the page with your form and open the
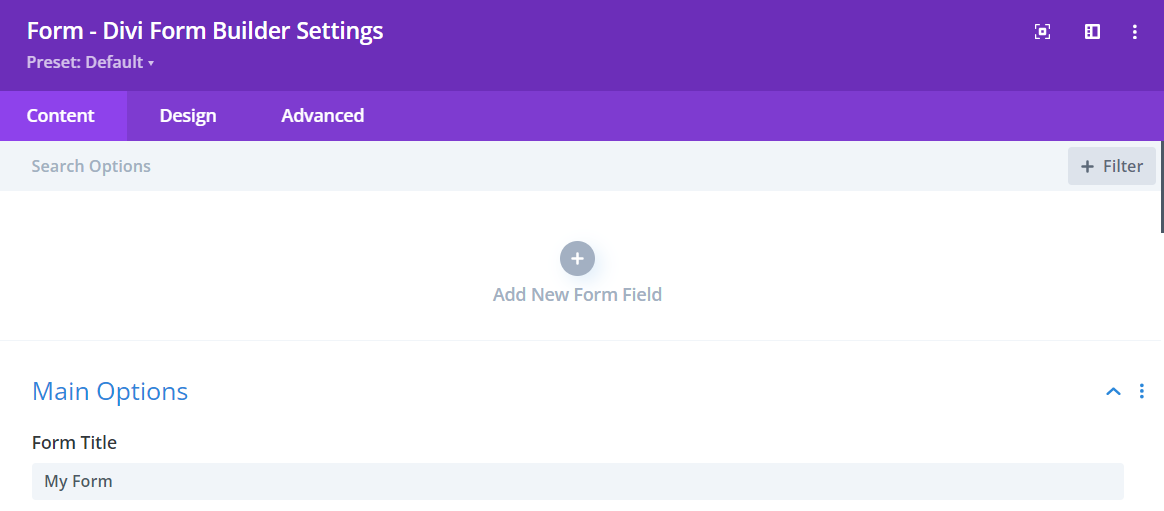
Form Builder module. - Click on the
Add New Fieldbutton to start adding a new form field.
Step 2: Select Radio Field
- Enter a descriptive
Field Titlefor the field that users will see. - Enter a
Admin Titlefor administrative purposes to help identify the field. - Assign a unique
Field IDto the field for data handling. - Select
Radio Buttonsfield from the Type dropdown menu.

Step 3: Customize Radio Field
In additional to the styling features in the Design Tab, Divi Form Builder offers customization options for the Radio Field HERE.
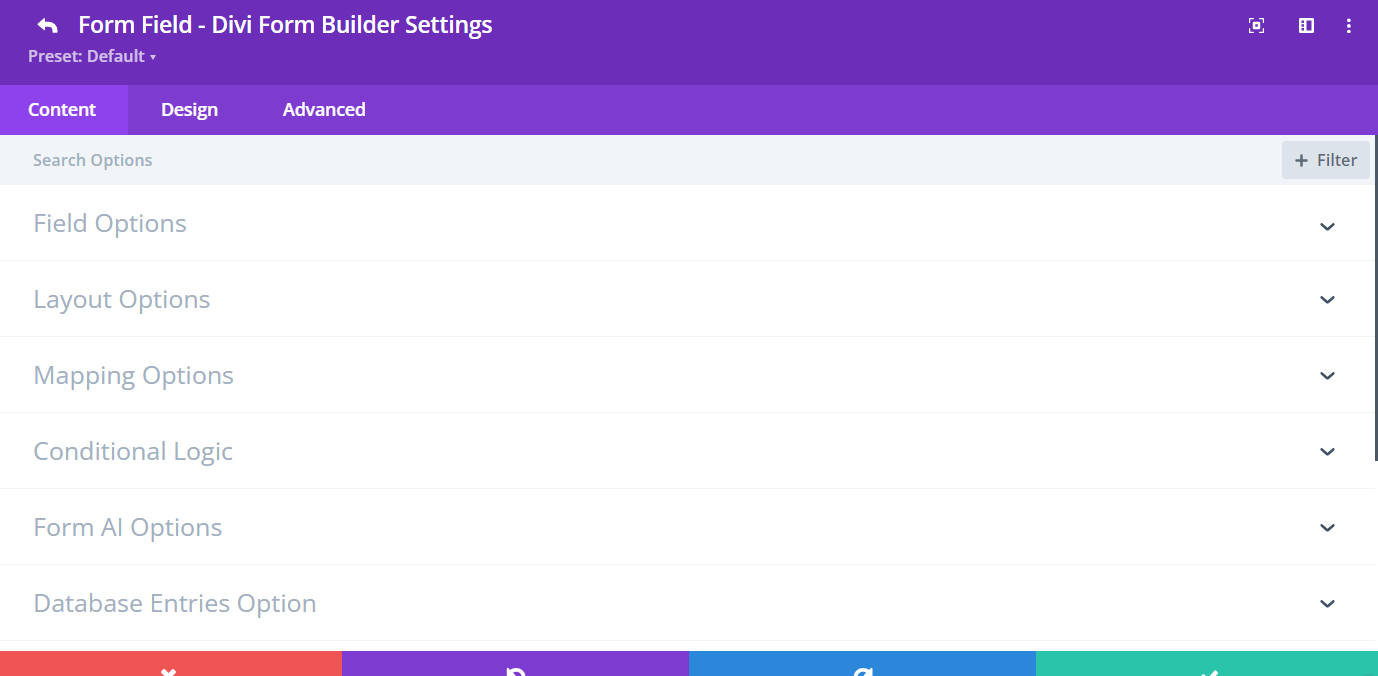
Field Options:
Add Form Builder Prefix to Field: Disable this option to directly input the field ID and Name. Only disable this option for specific cases, such as when using the form with Google Tag Manager.Auto Detect from Mapped Field: Enable this option to automatically populate radio based on a mapped field.Only Populate Selected Fields: Choose to populate only selected fields.Exclude Auto-Detected Options: Exclude certain options from being auto-detected.Options: Manually add your own radio optionsAdd Images to Options: Add images to each radio option for a more visual selection.Radio/Image Checkbox Options:Image Options: Customize image options for the radio buttons.Show Radiobox for Image Options: Display a radio button along with image options.Image Options Label Position: Set the position of the labels for image options.
Is This Field for Calculation: Enable if the radio field is used for calculations.Calculation Values for Options: Add values for each option to be used in calculations.
Required Field: Make the radio field mandatory for users to select at least one option.Go to Next Step when change Select or Radio/Checkbox options: In a multi-step form, you typically need to press "Next" to proceed to the next step. However, if you enable the X feature, the form will automatically progress to the next step once the user selects an option, eliminating the need for an additional "Next" click.Populate Options from Linked Post Only: If you are populating the select field with options from an ACF Post Object, enable this option to display only the choices associated with the logged-in use
Additional Tips
By following these steps, you can effectively add and customize the Radio Field in Divi Form Builder, ensuring it meets the needs of your form and provides a seamless user experience. Utilize the various customization options to make your forms both functional and visually appealing.